Flyer Mockup V4: A Practical Tool for Visual Planning and Real-World Execution
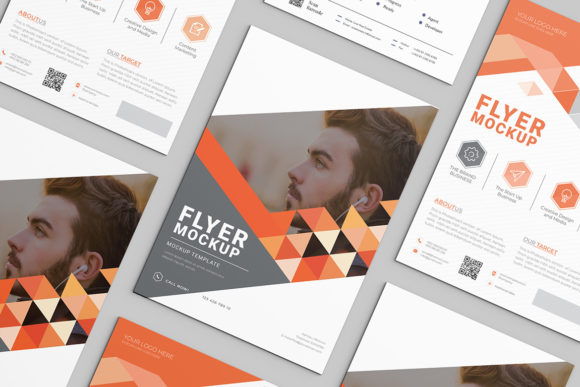
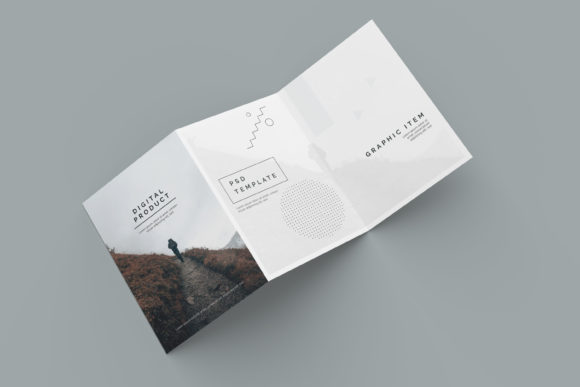
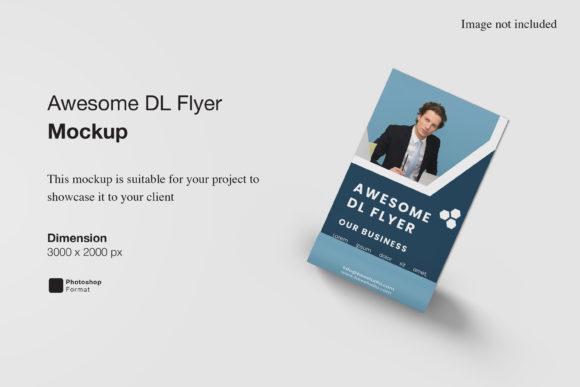
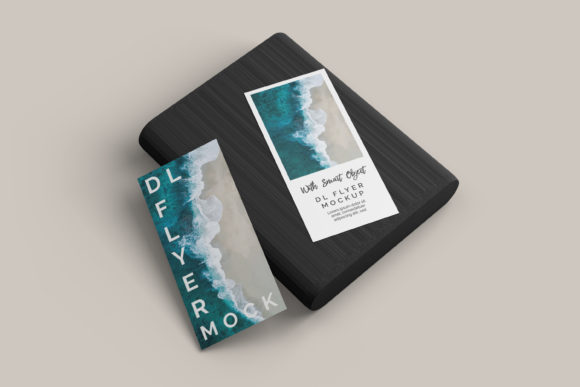
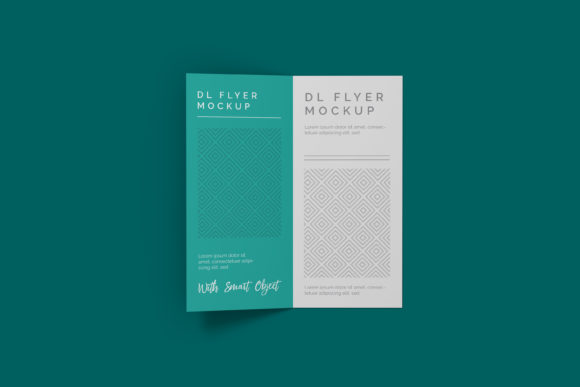
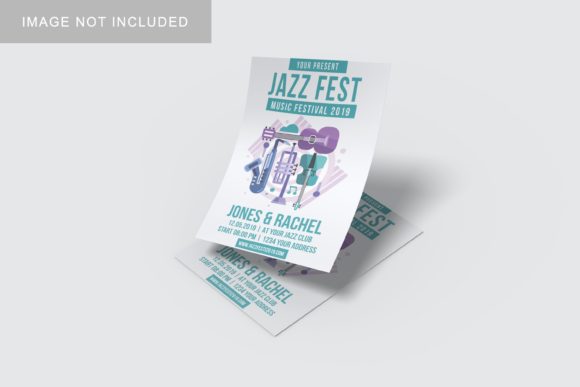
Flyer Mockup V4 is a high-fidelity, layered PSD (and often Figma or Sketch-compatible) template designed to help creators visualize, refine, and present flyer designs in realistic environmental contexts—think storefront windows, bulletin boards, café tables, or urban street poles. Unlike generic design templates, Flyer Mockup V4 emphasizes photorealism, smart object support, and intuitive layer organization. It’s not just about making something look “done”—it’s about grounding your design decisions in context before finalizing assets, printing, or launching campaigns.
Where Flyer Mockup V4 Fits in the Creative Workflow
Flyer Mockup V4 sits at the intersection of ideation and delivery—not as an isolated step, but as a connective tissue across phases. For marketers preparing a local event launch, it bridges the gap between copywriting and physical distribution. For educators designing workshop handouts, it helps anticipate readability at arm’s length on a community board. For freelancers pitching to small businesses, it transforms flat JPEGs into tangible, situational proposals that clients instantly recognize as “real.”
It’s rarely used first. Most users sketch concepts, draft messaging, choose fonts and colors, then bring those assets into Flyer Mockup V4 to test scale, contrast, hierarchy, and emotional resonance. That timing matters: inserting mockups too early can lock in visual assumptions before strategy is solid; inserting them too late misses opportunities to catch layout flaws that only emerge in context—like text vanishing against a busy background or QR codes becoming illegible at 30 cm viewing distance.
Using Flyer Mockup V4 Before a Project Begins
Pre-project use isn’t about design—it’s about alignment. Teams often drop placeholder content into Flyer Mockup V4 during discovery calls or kickoff workshops. Seeing a draft headline and image rendered on a weathered brick wall or inside a glass display case sparks immediate, concrete feedback: “That red clashes with our brand blue,” or “The logo disappears when the lighting hits that angle.” This surfaces misaligned expectations before hours go into refinement.
It also supports budgeting and logistics. When you preview your flyer in Flyer Mockup V4 placed on a real-world surface—say, a laminated A4 sheet taped to a metal door—you begin asking practical questions: Will this survive rain? Does the paper weight match the texture shown? Is the bleed area sufficient for trimming? These aren’t design questions alone—they’re production, durability, and compliance considerations that shape sourcing decisions early.
Integrating Flyer Mockup V4 During Active Development
During active design, Flyer Mockup V4 functions as a quality control checkpoint—not a final output tool. Its smart object layers let you swap in updated artwork while preserving shadows, reflections, perspective, and ambient light. That means every time you adjust line height, reposition a call-to-action button, or tweak color contrast, you see the change *in situ*, not in isolation.
This is especially valuable when coordinating across roles. A copywriter can review how much space their paragraph occupies next to a photo in the mockup. A print vendor can confirm whether the CMYK conversion holds up under simulated daylight glare. A social media manager can extract a cropped version for Instagram Stories—same composition, scaled appropriately—without rebuilding from scratch.
Compatibility is straightforward if you work in Adobe Photoshop (CS6+), but many modern versions also include Figma files with auto-layout components. If you’re using Canva or Affinity Designer, check the file package: some vendors provide flattened PNG overlays or SVG-based alternatives for basic placement. Always verify layer naming conventions—well-structured Flyer Mockup V4 files label folders like “Background,” “Flyer-Smart-Object,” “Shadows,” and “Lighting-Effects” so you can toggle visibility without breaking the scene.
Post-Project Applications You Might Overlook
After printing or campaign launch, Flyer Mockup V4 remains useful—not for iteration, but for documentation and reuse. Photograph your actual printed flyer in its intended environment, then overlay it onto the matching Flyer Mockup V4 scene. The result is a side-by-side comparison that shows how well reality matched intent. Did the ink saturate more than expected? Did the matte finish mute the contrast? Capture those observations in your asset library alongside the mockup file for future reference.
It’s also a quiet asset multiplier. One well-organized Flyer Mockup V4 file can serve multiple formats: crop tightly for email headers, zoom out for website banners, or isolate the shadow layer for use in other presentations. Because the lighting and perspective are baked in, you avoid inconsistent rendering across touchpoints—a subtle but powerful contributor to perceived professionalism.
Practical Implementation Tips for Consistent Results
- Start with your strongest asset: Drop your highest-resolution, properly sized flyer artwork into the smart object first—don’t stretch or resample within the mockup itself.
- Test at real-world scale: Zoom your document view to 100% and step back from your monitor. Does the headline grab attention? Can body text be scanned in under three seconds?
- Use layer comps for variants: Save different versions—e.g., “Daylight,” “Evening Glow,” “Rainy Surface”—as named layer comps. This avoids cluttering your file with duplicate layers.
- Batch-export intelligently: Use Photoshop’s “Export As” or “Generate > Image Assets” to produce web-ready JPGs and PNGs with consistent naming (e.g., “event-flyer-mockup-daylight.jpg”)—critical for CMS uploads or client handoffs.
- Document your settings: Note down blend modes, opacity values, or adjustment layers you apply to match specific lighting conditions. Reapplying those later saves minutes—and maintains consistency across a series of flyers.
Long-Term Use: Building a Sustainable Mockup Practice
Flyer Mockup V4 works best when treated as part of a living system—not a one-off download. Keep a dedicated folder for all mockup files, sorted by environment type (indoor/outdoor), surface material (wood/metal/glass), and lighting condition. Tag each with metadata: resolution, compatible software, included smart object count, and any known limitations (e.g., “no mobile device variant”).
Over time, you’ll notice patterns: certain mockups consistently resonate with your audience during client reviews; others reveal recurring issues in your design process (e.g., low-contrast text in shaded scenes). That insight feeds directly into your style guide or checklist—making future projects faster and more reliable.
Efficiency gains compound quietly. Once you’ve used Flyer Mockup V4 across five projects, you’ll instinctively know which lighting preset suits a nonprofit’s warm tone versus a tech startup’s crisp minimalism. You’ll stop second-guessing font size on textured backgrounds. You’ll spend less time explaining “what it’ll look like” and more time refining what matters: message, timing, and impact.
Final Integration Insight: It’s About Context, Not Just Looks
Flyer Mockup V4 doesn’t replace strategy, research, or craftsmanship. It sharpens them. Every time you place a design into its intended setting, you’re practicing empathy—for the person reading it on a rainy Tuesday morning, for the printer aligning plates, for the intern updating the website banner. That groundedness changes how you make decisions: less “What looks cool?” and more “What works here, now, for who’s seeing it?”
Whether you’re a solo blogger promoting a webinar, a school district announcing enrollment dates, or a boutique studio building a local brand identity—Flyer Mockup V4 supports execution that feels intentional, tested, and human-centered. It’s not about perfection. It’s about reducing ambiguity, increasing clarity, and moving confidently from concept to consequence.